Kids craft project to make paper lanterns.
Simply download and print onto cardstock, cut out and decorate.
MATERIALS
- Lantern template
- Cardstock
- Tissue paper, wax paper or acetate sheet
- Decorating materials, this can be what ever you have on hand, pencils, glitter, stickers, felt etc.
- Scissors
- Glue
INSTRUCTIONS
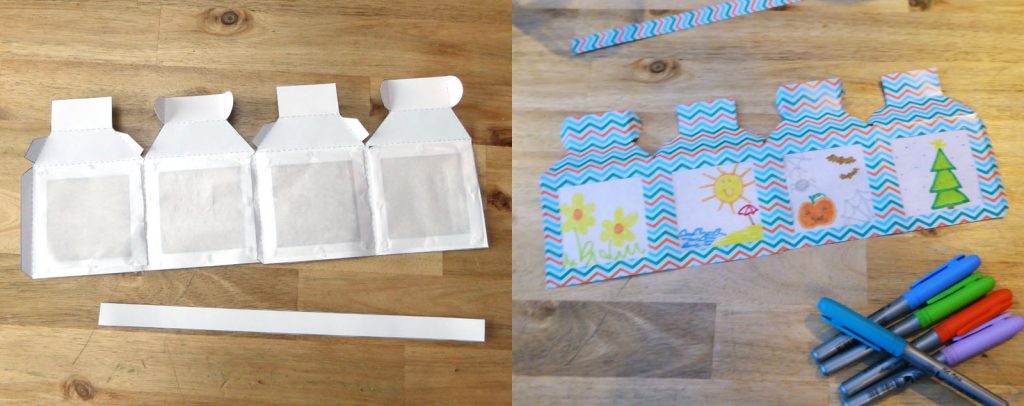
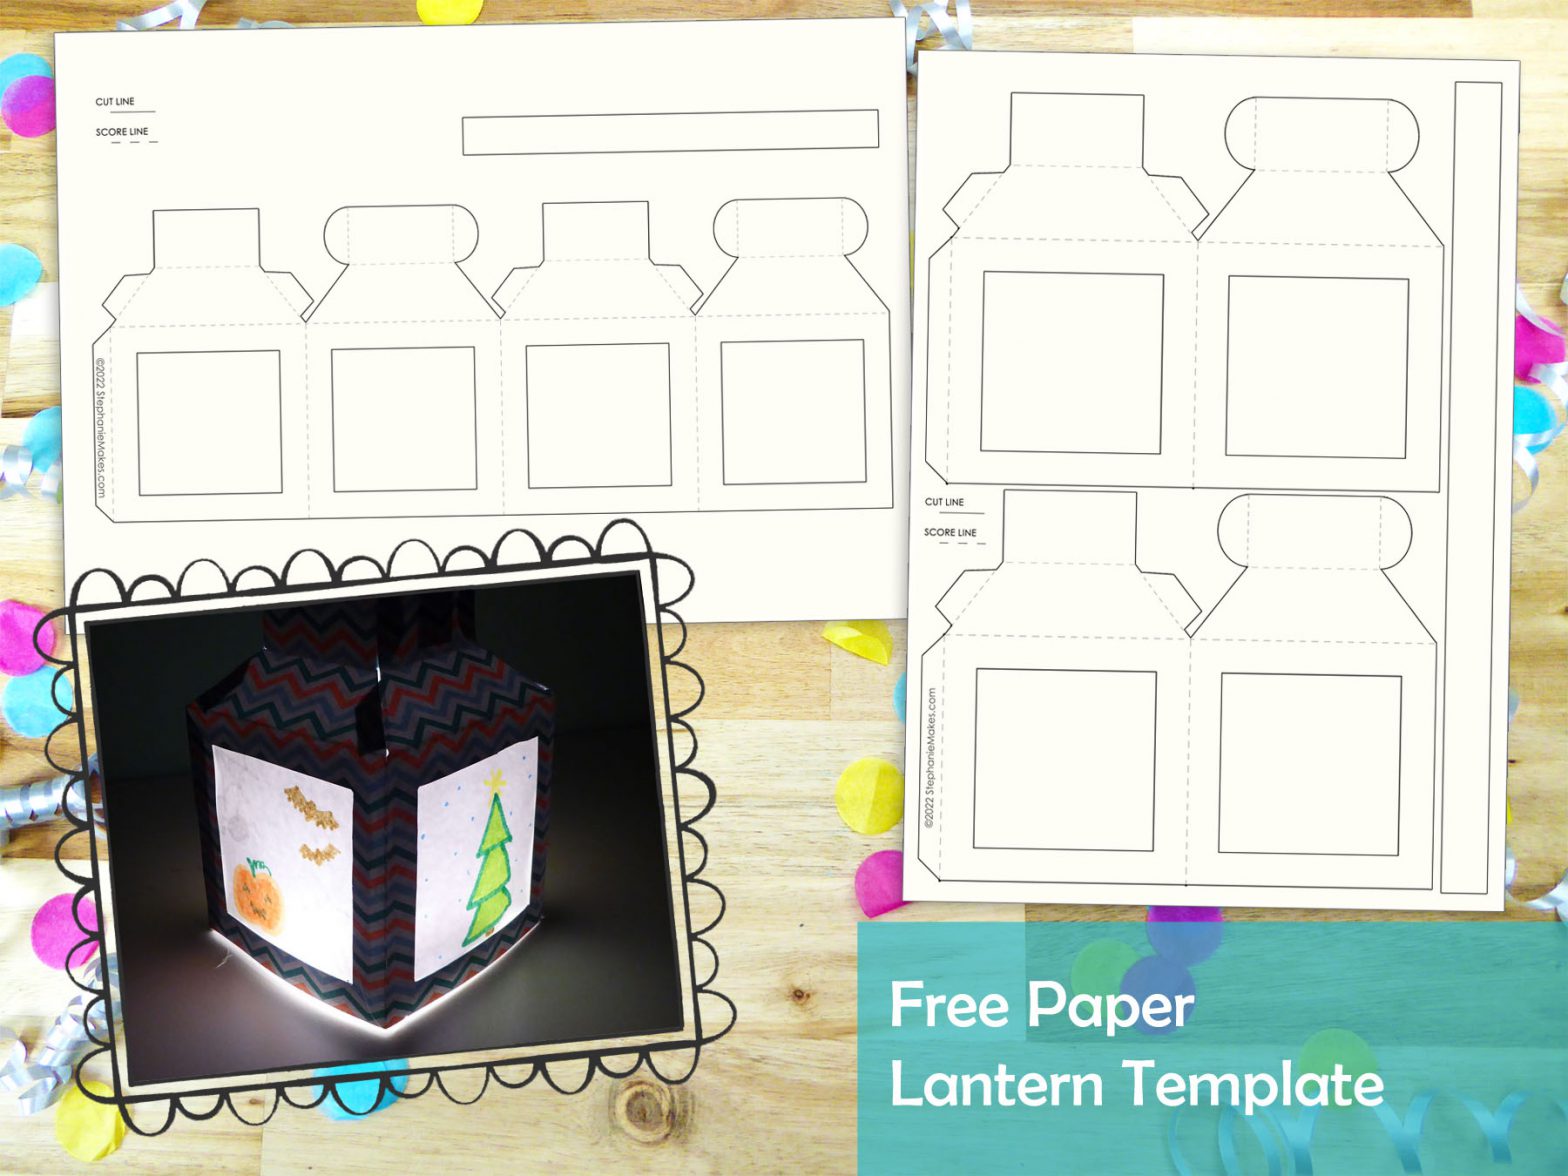
Print off the template onto cardstock.
Cut around the outer edge and cut out the 4 square windows.
Score along the fold lines.
If you are making the medium sized lantern, glue the two pieces together to make a single long piece.
Cut the tissue paper into squares big enough to cover the lantern windows and glue them on the inside of the lantern.

On the outside, colour in the tissue paper and decorate with your craft materials.
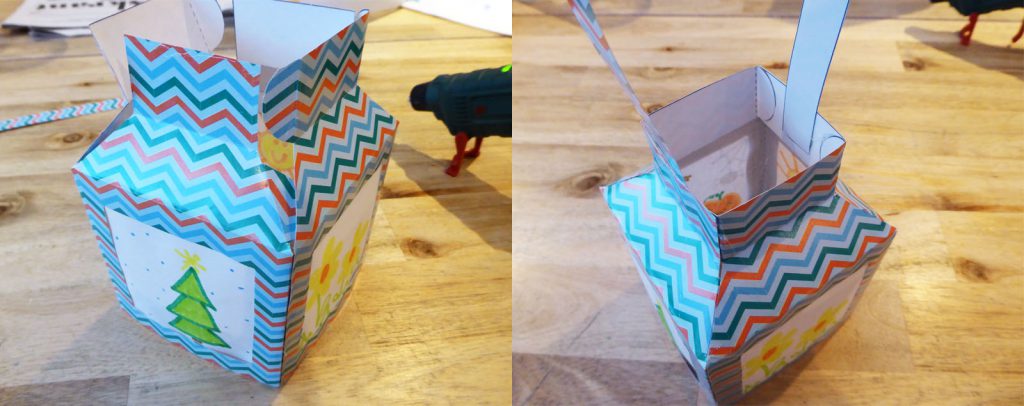
When finished, clue the end tab of the lantern to the other side to form the main lantern shape.
Glue the tabs for each top section to complete the lantern.
Optional: Glue each end of the handle strip on to opposite sides of the top section.

In the Netherlands you can buy lantern sticks that have a little LED bulb that you can attach your lantern too. Alternatively use a LED candle, NEVER use a real candle as this is a fire hazard.
I created this paper lantern template to create a lantern for St. Martins Day, but you can use it to make lanterns for lots of different events, here are some ideas to customise your lantern.
- Diwali: Use the template to create your own Diwali paper lantern.
- Christmas: Using the small template, make 24 lanterns and light one in the count down to Christmas.
- Chinese New Year: Make it using red card and decorate with gold ribbon.
- Thanksgiving: On each side of the lantern, write something you are thankful for.

